7.0 KiB
Webnative App Template
![]()
![]()


The Webnative App Template is a clone-and-go template for building a web application using Webnative, fast. Clone, customize, and deploy to have a running distributed app in mere minutes.
🤔 What's Webnative?
The Webnative SDK empowers developers to build fully distributed web applications without needing a complex back-end. The SDK provides:
- user accounts (via the browser's Web Crypto API),
- authorization (using UCAN)
- encrypted file storage (via the Webnative File System, backed by the InterPlanetary File System, or IPFS)
- and key management (via websockets and a two-factor auth-like flow).
Webnative applications work offline and store data encrypted for the user by leveraging the power of the web platform. You can read more about Webnative in Fission's Webnative Guide.
📦 What does this template give me?
🥰 Silky-smooth end-user flows
The Webnative App Template provides a silky-smooth user experience out of the box. Creating an account and linking a second device feels familiar, comfortable, and obvious. Webnative authentication is key-based rather than password-based, so we've focused heavily on the authentication flows, borrowing language and screens from two-factor auth flows.
🧱 Built with a modern web stack
The app template is built with modern web technologies:
- SvelteKit (powered by Vite under the hood)
- TypeScript
- Tailwind
- DaisyUI
👩🏫 A simple Webnative demo to learn from
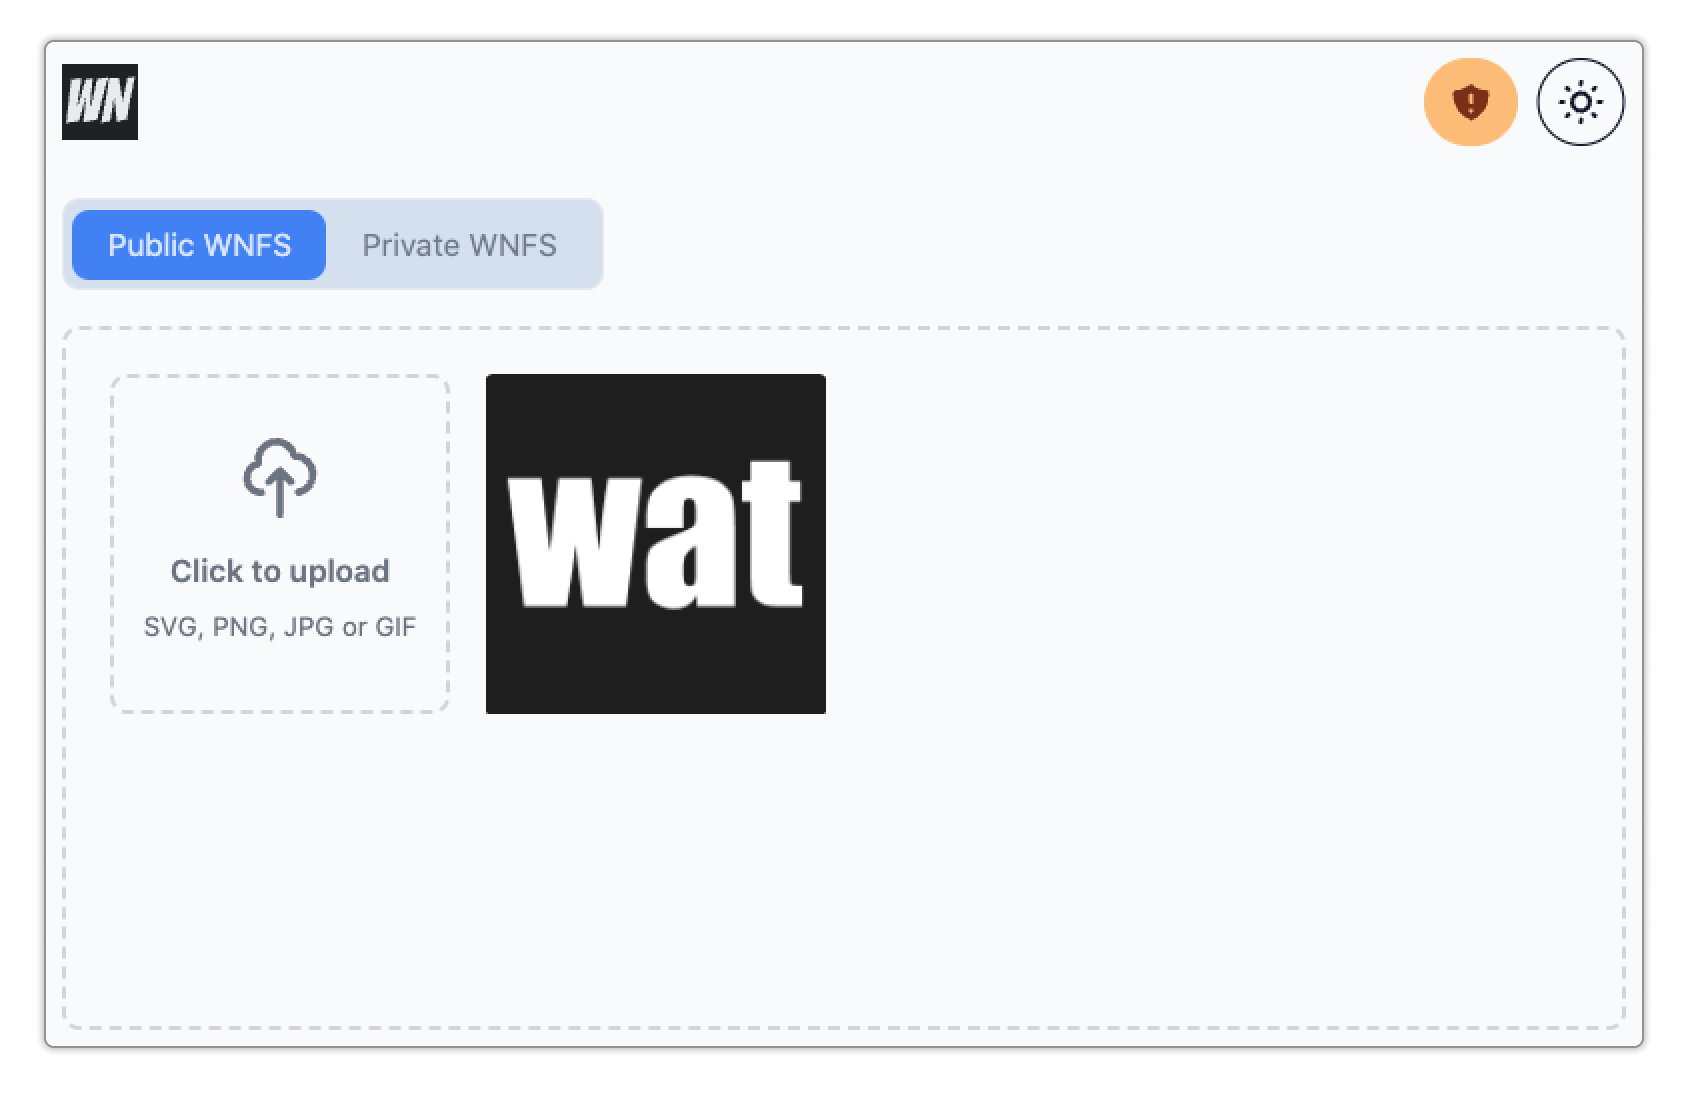
The app template includes a functioning application: an image gallery. Check out the image gallery code to learn how a Webnative application handles things like file uploads, directories, etc.
🚀 Getting Started
You can try out the template yourself here.
Ready? Let's go:
-
Clone the repository:
git clone git@github.com:fission-codes/webnative.git -
Install the dependencies.
npm install -
Start the local development server.
npm run dev -
Navigate to
http://localhost:5173in your web browser.
🛠 Customize your app
The app template is designed to be easy for you to make it your own. Here's how:
-
Rename your application.
In
/src/lib/app-info.ts:- Change
appNameto the name of your app. - Change
appDescriptionto a simple, 1-sentence description of your app. - Once you deploy your app, change
appURLto the production URL.
In
package.json, changenameto your application's name. - Change
-
Customize your app's logo.
- App Logo SVG can be customized in
/src/components/icons/Brand.svelte. Target an image that is 35 pixels high. - Replace the favicon files in
/staticby following the instructions in this blog post - Generate a Twitter/Social Media Embed image.
- In
/src/lib/app-info.ts, changeappImageURLto match the URL of your embed image. - In
/src/routes/__layout.svelte, updateog:image:widthandog:image:heightto the size of your embed image.
- In
- App Logo SVG can be customized in
-
Customize the look and feel.
The app template is built using Tailwind and DaisyUI. You can customize basic theme colors by editing
/tailwind.config.css. Check out the DaisyUI Theme Generator to play around with theme colors or read the customization guide to customize the component appearance. -
Clear out the app's home page.
The home page content is in
/src/routes/index.svelte. Delete everything in the file (but don't delete the file!) to start over with a blank home page. -
Remove the image gallery demo app code.
If you're not building an image gallery, you don't need the gallery demo code, except perhaps to learn from. To get rid of it, delete:
/src/routes/gallery
👏 You're ready to start adding custom functionality! 🚀
Check out the Webnative Guide for Webnative questions or UCAN.xyz for UCAN questions.
🧨 Deploy
The Webnative App Template is currently deployed as a Netlify app and a Fission app, but it should be supported on any static hosting platform (Vercel, Cloudflare Pages, etc).
Netlify
In order to deploy your Webnative application on Netlify:
- Create a new Netlify site and connect your app's git repository. (If you don't have your application stored in a git repository, you can upload the output of a static build.)
- Netlify takes care of the rest. No Netlify-specific configuration is needed.
- There is no step 3.
Fission App Hosting
A Webnative application can be published to IPFS with the Fission CLI or the Fission GitHub publish action.
To publish with the Fission CLI:
- Install the CLI
- Run
fission setupto make a Fission account - Run
npm run buildto build the app - Delete
fission.yaml - Run
fission app registerto register a new Fission app (accept the./builddirectory suggestion for your build directory) - Run
fission app publishto publish your app to the web
Your app will be available online at the domain assigned by the register command.
To set up the GitHub publish action:
- Register the app with the CLI
- Export your machine key with
base64 ~/.config/fission/key/machine_id.ed25519 - Add your machine key as a GH Repository secret named
FISSION_MACHINE_KEY - Update the
publish.ymlwith the name of your registered app
See the Fission Guide and the publish action README for more details.
Static Build
Export a static build.
npm run build
The build outputs the static site to the build directory.